When you're preparing land for planting, it's vital to start with a thorough assessment of your site. You'll want to take into account factors like topography and sun exposure, as these will directly impact plant growth. After clearing debris and managing weeds, soil quality testing becomes essential to determine what amendments are needed for ideal nutrient levels. But understanding these preliminary steps is just the beginning; there are several more techniques and strategies that can greatly enhance your planting success. Let's explore what comes next in this process.
Key insights
- Assess the site by evaluating topography, sun exposure, and natural features to ensure optimal growth conditions.
- Remove debris and control weeds to reduce competition for nutrients and create a clean planting area.
- Conduct soil testing to analyze pH, nutrient levels, and organic matter, tailoring amendments accordingly.
- Create garden beds 3 to 4 feet wide with proper dimensions for easy access and enriching soil with compost.
- Monitor soil moisture and manage water runoff to ensure plants receive adequate hydration without flooding.
Assessing Your Site
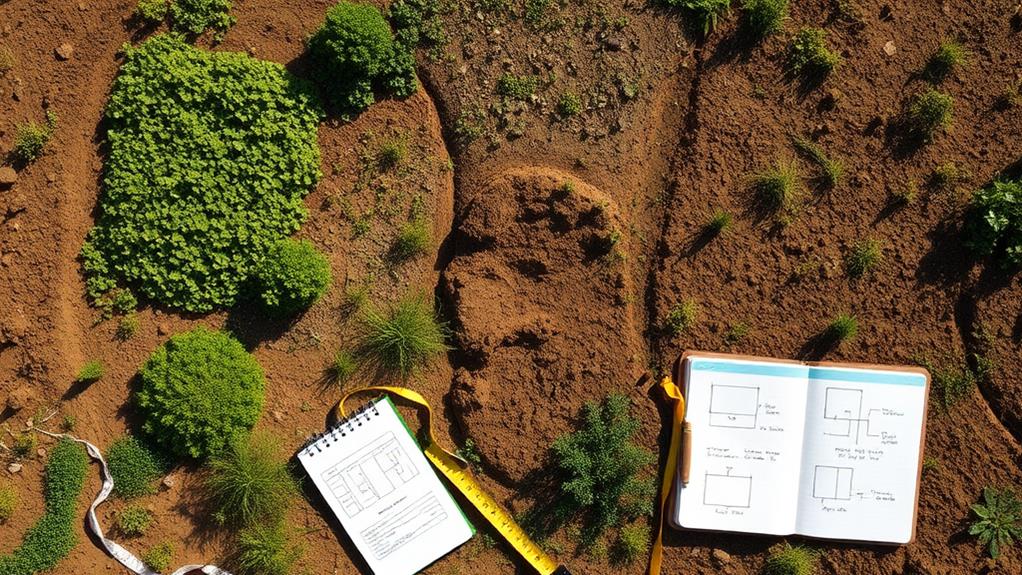
Before you start planting, it's important to thoroughly assess your site to guarantee ideal growth conditions for your plants.
Begin by evaluating the site topography. Observing the land's slope and contours helps identify areas where water may accumulate or drain away. Flat areas might retain moisture better, while sloped regions could require additional erosion control measures.
Next, consider the sun exposure. Different plants have varying light requirements, and understanding how sunlight interacts with your site is vital. Observe how long different areas receive direct sunlight throughout the day. South-facing slopes usually get more sun, making them ideal for sun-loving plants. Conversely, shaded areas may be better suited for shade-tolerant varieties.
You should also take note of any existing natural features, such as trees or buildings, which can cast shadows and affect your plants' growth.
Clearing Debris and Weeds
To prepare your land for planting, start by removing large debris like rocks, fallen branches, and any other obstacles that could hinder growth.
Once the area is clear, focus on controlling weeds effectively, as they compete with your plants for nutrients and water.
Implementing proper weed management techniques will set a strong foundation for your garden's success.
Remove Large Debris
As you prepare your land for planting, removing large debris is an essential first step that sets the stage for a healthy garden.
Start by surveying your area for large objects like fallen branches, rocks, or any construction materials. These can obstruct your planting efforts and hinder soil health.
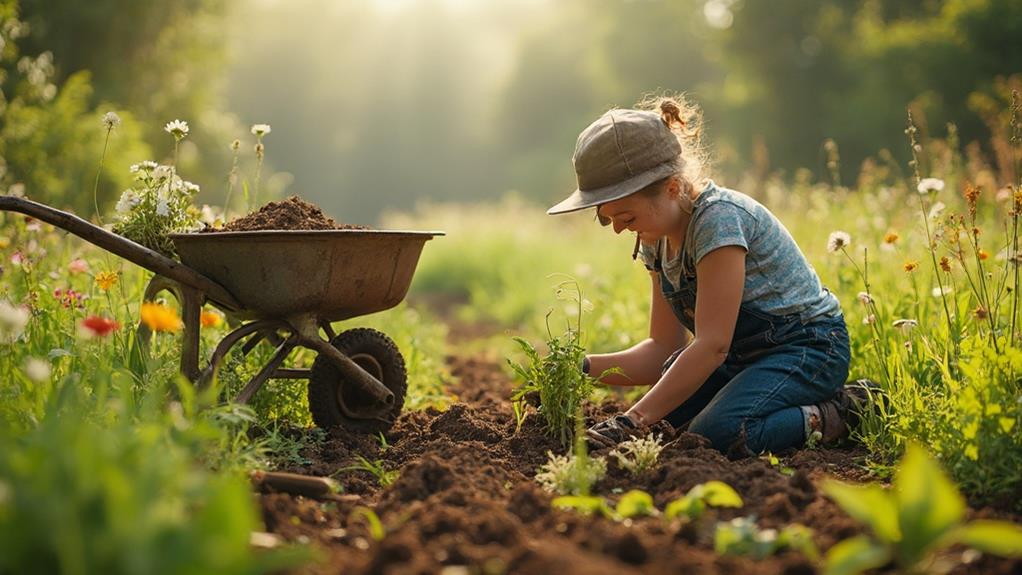
For effective debris removal, gather the necessary tools such as gloves, a rake, and a wheelbarrow. If the debris is particularly heavy or bulky, consider using a shovel or a pickaxe.
Work systematically, clearing one section at a time to avoid feeling overwhelmed.
As you collect these large objects, be mindful of how you dispose of them. You can either compost organic materials, like branches, or take non-biodegradable items to a local waste facility.
Once you've cleared the area, take a moment to inspect the soil for any underlying issues that may have been hidden by the debris.
This thorough approach guarantees you establish a clean and conducive environment for your plants to thrive.
Control Weeds Effectively
Once you've cleared the area of large debris, tackling weeds becomes the next priority in your land preparation. Effective weed control is essential for ensuring your plants thrive without competition for nutrients and water.
Start by manually removing any visible weeds, pulling them out by the roots to prevent regrowth.
Next, consider using mulching methods, which provide an excellent barrier against weeds while conserving soil moisture. Organic materials like straw, grass clippings, or shredded leaves work well. Spread a layer of mulch 2-4 inches thick around your planting area, ensuring it doesn't touch the stems of your plants to avoid rot.
If weeds persist, you may opt for organic herbicides as a safer alternative to chemical options. These products, derived from natural substances, target specific weed types while being less harmful to the surrounding environment.
Apply them according to the manufacturer's instructions for maximum effectiveness.
Testing Soil Quality
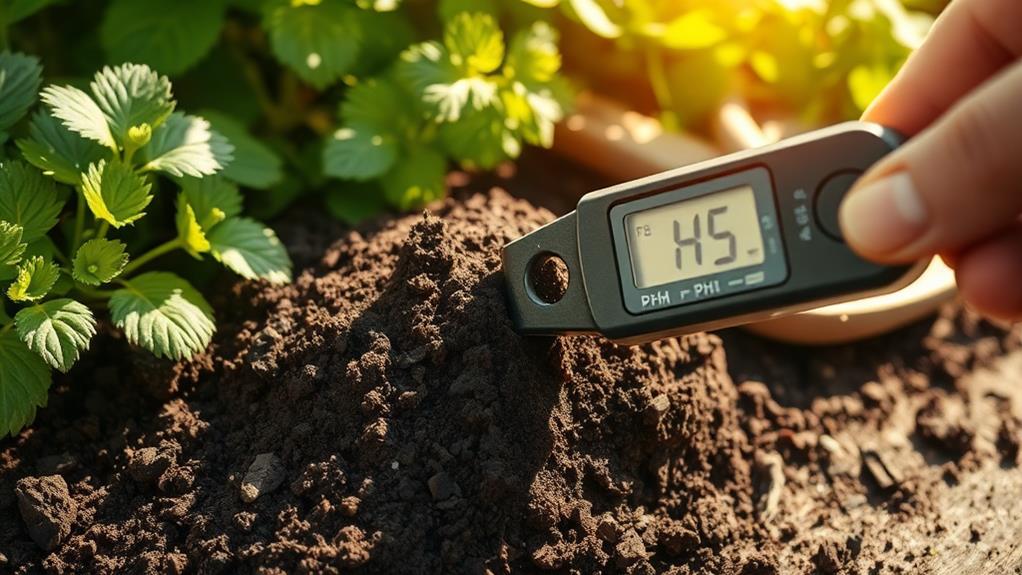
Testing soil quality is an essential step in preparing land for planting, as it directly influences the health and productivity of your crops. To begin, conduct soil testing to assess the pH level, nutrient content, and organic matter composition. You can use a soil test kit or send samples to a laboratory for a more thorough analysis.
When performing soil testing, take samples from various locations in your field to guarantee accurate results. Aim for a depth of about six inches, avoiding any debris or surface contamination.
Once you have your samples, a nutrient analysis will reveal the levels of essential nutrients like nitrogen, phosphorus, and potassium, along with micronutrients such as zinc and iron.
Understanding your soil's nutrient profile allows you to make informed decisions about what crops to plant and how to manage soil fertility. Additionally, it helps you identify any deficiencies or imbalances that could hinder crop growth.
After receiving your test results, you'll be well-equipped to tailor your planting strategy, setting the stage for a successful harvest.
Prioritize soil quality testing to maximize your agricultural outcomes.
Amending the Soil
After evaluating your soil's quality through testing, the next step is amending the soil to enhance its fertility and structure. This process addresses any nutrient deficiencies and improves microbial activity, essential for healthy plant growth.
To effectively amend your soil, consider the following:
- Compost Application: Incorporate well-aged compost to boost organic matter, which enhances soil structure and water retention.
- Mineral Amendments: Add minerals like lime or sulfur to adjust pH levels, ensuring your soil is within the ideal range for nutrient availability.
- Organic Mulch: Apply organic mulch to improve soil texture and maintain moisture, while also promoting microbial activity as it breaks down.
- Crop Rotation: Implement a crop rotation strategy to prevent nutrient depletion and enhance soil nutrients by alternating plant families.
Tilling the Ground
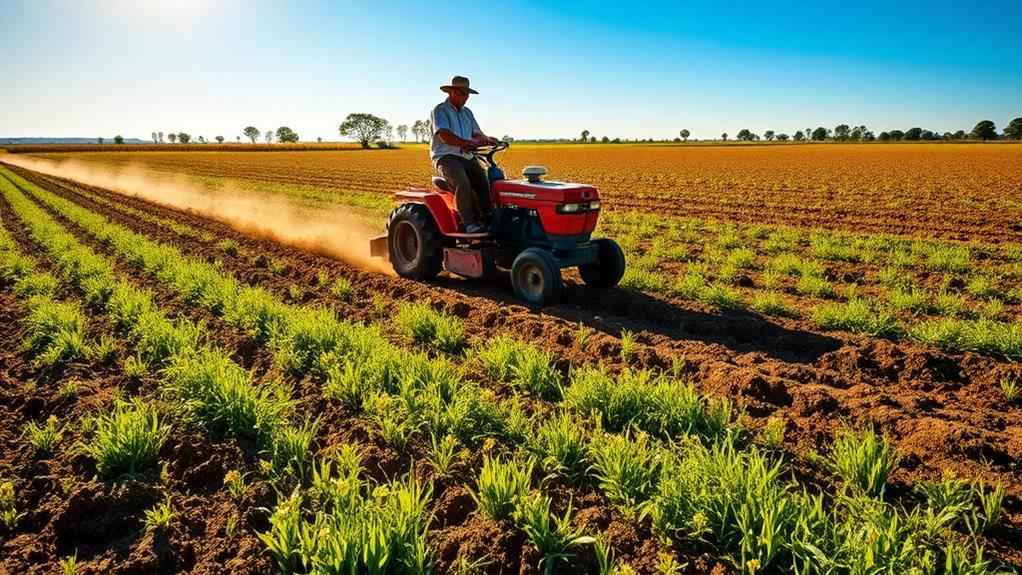
When it comes to tilling the ground, selecting the right tools is essential for achieving ideal soil preparation.
You'll need to take into account factors such as soil type and area size to choose between hand tools, rototillers, or plows.
Employing effective techniques during tilling, like adjusting the depth and ensuring even coverage, will promote better aeration and nutrient distribution in your soil.
Choosing the Right Tools
Getting the right tools for tilling the ground can make a significant difference in preparing your land for planting. By selecting the appropriate tool types, you enhance tool efficiency and guarantee a smoother process.
Here are four essential tools you'll need:
- Rototiller: This motorized tool breaks up soil quickly and efficiently, saving you time and effort.
- Garden Fork: Perfect for aerating soil and mixing in organic matter, it's a versatile tool for smaller areas.
- Hoe: Ideal for breaking up compacted soil and removing weeds, it provides precision in your tilling efforts.
- Hand Trowel: Great for detailed work in smaller plots, it helps with transplanting seedlings after tilling.
Once you've selected your tools, remember that proper tool maintenance is crucial for longevity and safety.
Always clean your tools after use and store them in a dry place to prevent rust.
Prioritize tool safety by wearing gloves and sturdy footwear while working.
Techniques for Effective Tilling
To achieve ideal soil preparation, it's crucial to employ effective tilling techniques right from the start. Tilling is the process of turning over the soil, which enhances aeration, improves drainage, and facilitates nutrient incorporation.
Start by choosing the right tilling method based on your soil type and the crops you plan to grow. For example, conventional tilling works well for sandy soils, while no-till methods can preserve moisture in clay soils.
Consider the benefits of cover crops before tilling. They improve soil structure, reduce erosion, and enhance nutrient content, making your soil more fertile. When you till after growing cover crops, you'll find that they decompose, enriching the soil with organic matter.
When tilling, maintain a consistent depth of about 6-8 inches. This guarantees you mix the soil effectively without disrupting the underlying layers. Avoid tilling when the soil is wet, as this can lead to compaction and clumping.
Creating Garden Beds
Creating well-defined garden beds is essential for successful planting and efficient use of space. By establishing clear boundaries, you enable better soil management and easier access for maintenance.
When designing your garden beds, consider the following elements:
- Bed Dimensions: Aim for beds that are 3 to 4 feet wide. This width allows you to reach the center easily without stepping on the soil, preserving its structure and health.
- Composting Techniques: Incorporate compost into your beds to enrich the soil. Layering green and brown materials can enhance nutrient availability, fostering stronger plant growth.
- Shape and Layout: Use rectangular or square shapes to optimize space. For smaller areas, consider circular or raised beds, which can also improve drainage and accessibility.
- Pathways: Create clear pathways between beds, ideally 18 to 24 inches wide. This space will facilitate movement and maintenance while preventing soil compaction.
Managing Water Drainage
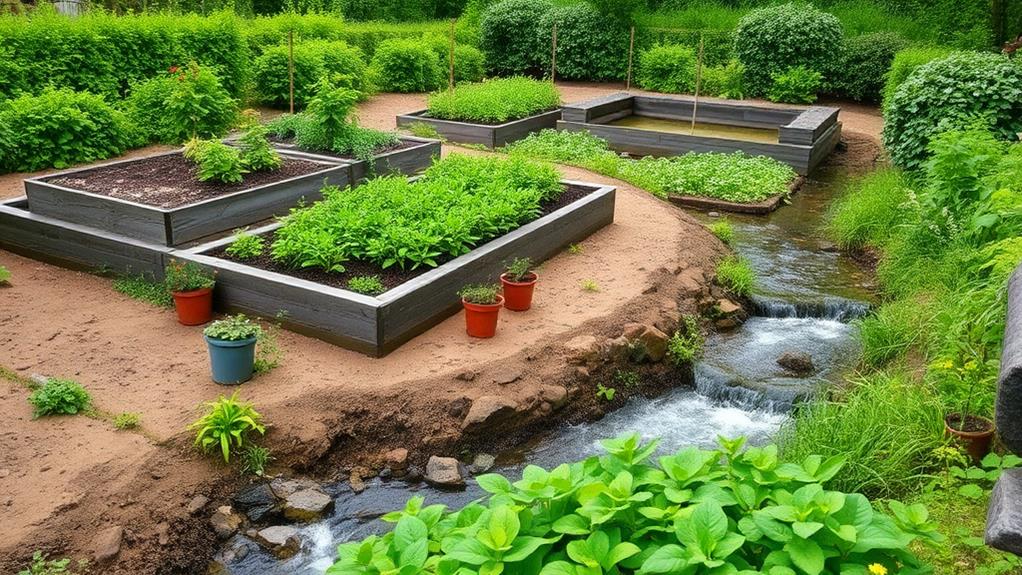
After establishing your garden beds, managing water drainage becomes a priority to guarantee healthy plant growth. Effective drainage systems are essential for preventing excess water accumulation that can lead to soil erosion and root rot.
Start by evaluating your landscape grading; you want to verify that your garden beds are positioned to promote natural runoff management. This may involve creating slight slopes to direct excess water away from plants.
Consider installing drainage channels or French drains if your area is prone to flooding. Additionally, incorporate moisture monitoring tools to track soil moisture levels, which will help you understand when to irrigate. This ties directly into irrigation planning, allowing you to maintain ideal water retention in the soil without over-saturating it.
To further enhance flood prevention, use organic matter to improve soil structure, encouraging better drainage and reducing erosion.
Regularly check for any signs of standing water and adjust your drainage systems accordingly. By proactively managing these aspects, you'll create a robust environment for your plants, guaranteeing they thrive with the right balance of moisture.
Planning Plant Layout
A well-thought-out plant layout is essential for optimizing space and ensuring healthy growth in your garden. Start by considering the principles of companion planting, which involves placing compatible plants together to enhance growth and deter pests.
Here are four key factors to help you plan an effective plant layout:
- Sunlight Exposure: Arrange taller plants, like tomatoes, to the north of shorter plants, such as lettuce, ensuring all receive adequate sunlight.
- Water Requirements: Group plants with similar watering needs to streamline irrigation and prevent over or under-watering.
- Crop Rotation: Implement a rotation plan each season to avoid nutrient depletion and reduce disease risks, moving families of plants to different areas of your garden.
- Accessibility: Design your layout for easy access to each plant; this will make maintenance tasks like weeding and harvesting more manageable.
Ensuring Pest Control
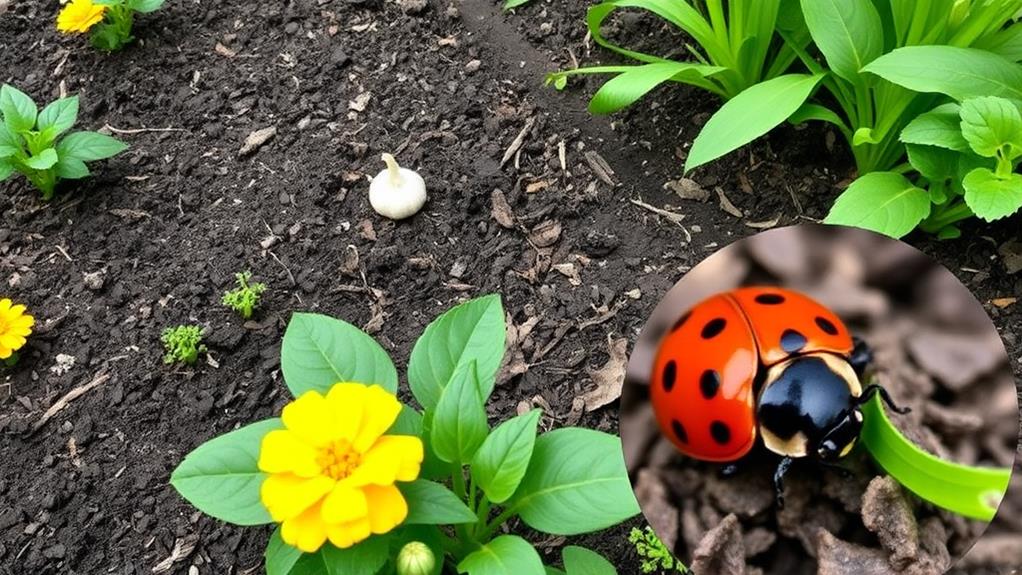
To effectively safeguard your plants against pests, it's vital to implement a thorough pest control strategy before the growing season begins.
Start with pest identification to recognize the specific threats to your crops. Understanding which pests are prevalent in your area allows you to tailor your approach effectively.
Incorporate organic pesticides as a first line of defense, ensuring you protect beneficial insects while targeting harmful ones.
Consider implementing companion planting; certain plants can deter pests or attract beneficial insects that prey on harmful species. For example, planting marigolds alongside vegetables can help keep nematodes at bay.
Utilize crop rotation to disrupt the life cycles of pests, making it harder for them to establish themselves in your garden.
Regular pest monitoring is vital—check your plants frequently for early signs of infestation. If pests appear, natural repellents like neem oil can be effective without harming your ecosystem.
Lastly, enhance habitats for beneficial insects by incorporating native plants and reducing chemical use.
This creates a balanced environment where natural pest control can thrive, helping maintain plant health throughout the growing season.
Timing Your Planting
Timing your planting can greatly impact your crop yield and overall success in the garden. Understanding seasonal considerations and ideal temperatures is essential. Each plant species thrives within specific temperature ranges, and planting during the right season guarantees that your crops establish well.
To enhance your planting schedule, consider these four key factors:
- Frost Dates: Know the last frost date in spring and the first frost date in fall for your region. This helps you avoid harsh conditions.
- Soil Temperature: Measure soil temperature before planting. Most seeds germinate best at 65°F to 75°F. You can use a soil thermometer for accuracy.
- Planting Depth: Different plants require different planting depths, which can affect their exposure to ideal temperatures. Make sure to follow specific guidelines.
- Local Climate Patterns: Keep an eye on rainfall and humidity levels. These seasonal considerations can impact plant health considerably.
Frequently Asked Questions
What Tools Are Best for Preparing Land for Planting?
When preparing land for planting, you'll need several tools to guarantee success.
Start with a garden tiller for breaking up soil and a soil testing kit to analyze nutrient levels. Hand tools like hoes and rakes will help with land leveling and weed management.
For soil amendment, consider adding compost.
Don't forget irrigation planning; a good system will keep your plants hydrated.
These tools will set the foundation for a thriving garden.
How Can I Attract Beneficial Insects to My Garden?
To attract beneficial insects, you'll want to create an ecosystem reminiscent of Eden.
Start by planting a variety of pollinator plants like lavender, sunflowers, and coneflowers. These flowers provide nectar and pollen, drawing in bees and butterflies.
Additionally, consider building insect hotels to offer shelter for predatory insects like ladybugs and lacewings.
What Are Cover Crops and How Do They Help?
Cover crops are plants grown primarily to improve soil health rather than for harvest. They provide numerous benefits, such as enhancing soil structure, increasing organic matter, and preventing erosion.
By planting cover crops, you're boosting nutrient cycling and suppressing weeds. Additionally, they can attract beneficial organisms, promoting a healthier ecosystem.
How Do I Know When to Stop Tilling?
You'll know to stop tilling when you reach the desired tilling depth, usually around 6 to 8 inches for most crops.
Check the soil moisture as well; if it's too wet, tilling can create compaction and clumping, hindering root growth.
Conversely, if it's too dry, you risk damaging soil structure.
Monitor the soil texture and moisture levels to guarantee you create an ideal environment for future planting.
Can I Use Raised Beds in Poor Soil Conditions?
Yes, you can absolutely use raised beds in poor soil conditions.
Raised beds offer several benefits, including improved drainage and soil temperature control. By filling them with quality soil and organic matter, you can enhance soil improvement considerably.
This method allows you to create a tailored growing environment, which helps plants thrive despite the underlying poor soil.
Just remember to regularly amend the raised bed soil to maintain its fertility and structure.
Summary
In preparing your land for planting, you've laid the groundwork for success. By evaluating your site, managing weeds, testing and amending soil, and planning effectively, you're setting yourself up for a bountiful harvest. Remember, "the early bird catches the worm," so timing your planting with local climate patterns can make all the difference. With careful preparation, you'll not only nurture your plants but also cultivate a thriving garden that yields abundant rewards.


